Array ( [0] => 280 [ID] => 280 [1] => 1 [TYPEID] => 1 [2] => 0 [SECTIONID] => 0 [3] => project-details [MOD_NAME] => project-details [4] => [TITLE] => [5] => Project Details [META_TITLE] => StazOn Studio Glaze for a Mix & Match Letter Action Card [6] => [META_DESCRIPTION] => StazOn Studio Glaze for a Mix & Match Letter Action Card [7] => [META_KEYWORDS] => [8] => [BUTTON_TITLE] => [9] => [BODY] => [10] => [BODY_SIDE] => [11] => [MODULE_PROCESSING] => [12] => [MODULE_META] => [13] => project-details-head.php [MODULE_HEAD] => project-details-head.php [14] => project-details-body.php [MODULE_BODY] => project-details-body.php [15] => [MODULE_SIDE] => [16] => 0 [TOP_ORDER] => 0 [17] => 0 [HITS_UNIQUE] => 0 [18] => 0 [HITS_REPEAT] => 0 [19] => 0 [ROBOT_HITS] => 0 [20] => 0000-00-00 00:00:00 [LASTVIEWED] => 0000-00-00 00:00:00 [21] => 0000-00-00 00:00:00 [ROBOT_LASTVIEWED] => 0000-00-00 00:00:00 [22] => 0.70 [PRIORITY] => 0.70 [23] => 1 [SITEMAP] => 1 [24] => 1 [ACTIVE] => 1 [25] => 1 [DISPLAY_TITLE] => 1 [26] => 0 [SSL_MODE] => 0 [27] => 0 [EDITABLE] => 0 [28] => 0 [DELETABLE] => 0 [29] => 2013-11-05 00:00:00 [LASTUPDATED] => 2013-11-05 00:00:00 [30] => 2013-11-05 00:00:00 [CREATED] => 2013-11-05 00:00:00 )
Imagine Crafts
LearnMakeCommunityShop

StazOn Studio Glaze for a Mix & Match Letter Action Card

This card works like a sudoku puzzle. It comes along with several letters and embellishment. Because of using Tack’n’Peel, everything adheres non-permanent on the surface, so you can spend a lot of funny time combining it and trying to find out how many words, phrases and designs are possible to create. Hubby had a lot of fun with the possibilities.
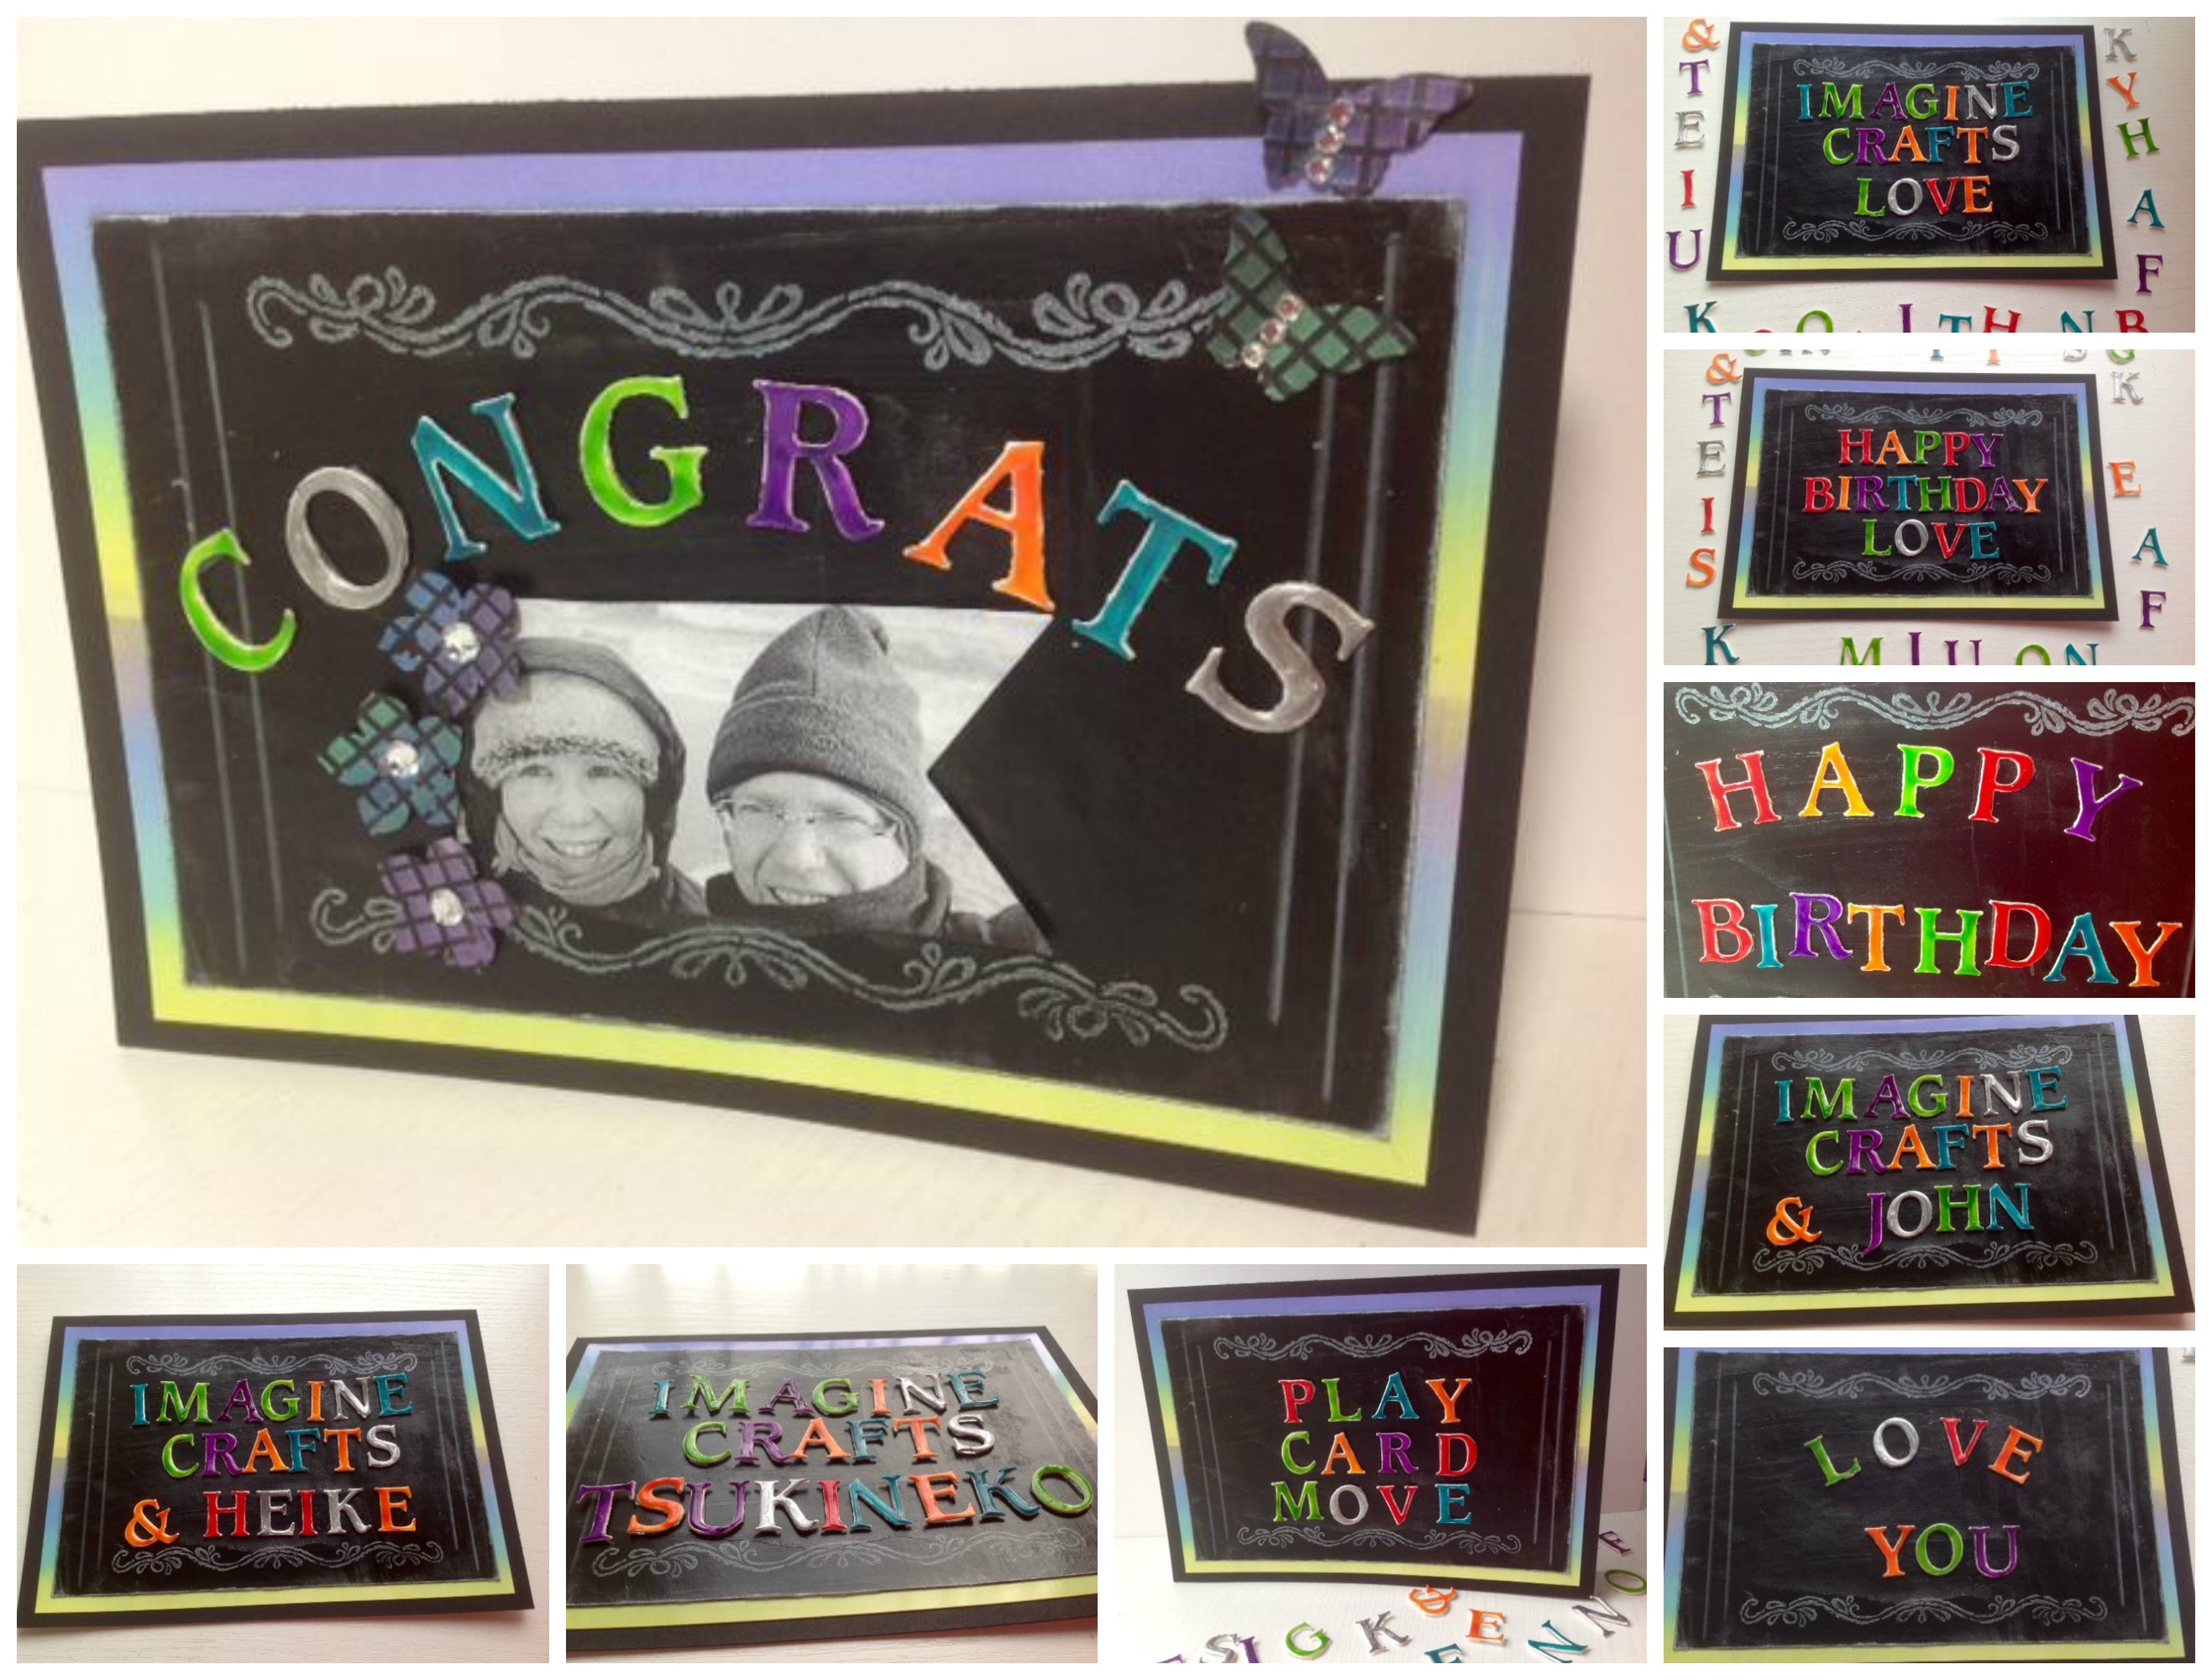
StazOn Studio Glaze for a Mix & Match Letter Action Card

Directions:

2015_hl_june_actioncard_step1L

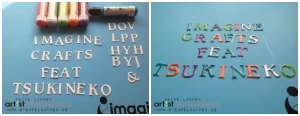
1. Die cut the needed letters. Therefor consider some different words or phrases before. It is helpful to write down and count them.
Apply StazOn Studio Glaze to the letters. Let them dry.

2015_hl_june_actioncard_step2L

2. Adhere small stripes of Tack’n’Peel on the letters backside. Tack’n’Peel has a permanent and a non-permanent surface. Be sure to adhere the permanent yellow covered side.
2015_hl_june_actioncard_step3

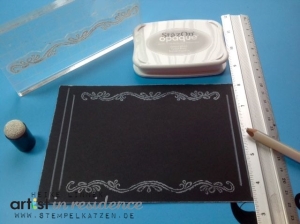
3. Cut out black cardstock to create the chalk board. The size should accord to the size of the letters and the projected words. This one is 4 ¾“ x 7 ¼“.
Stamp the borders, draw the lines and carefully sponge some cloudy accents with Memento Opaque Cotton White and a white crayon.
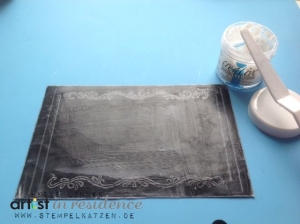
2015_hl_june_actioncard_step4

4. Seal the cardstock using Creative Medium Clear. Let it dry. This will be the perfect cling surface for the Tack’n’Peel adhered letters.
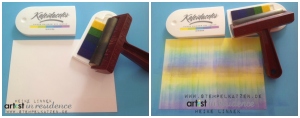
2015_hl_june_actioncard_step5L

5. Brayer the background using Kaleidacolor Multicolor Inkpad. The size should be ½ “ larger than the black cardstock, this one is 5 ¼ “ x 7 ¾ “.
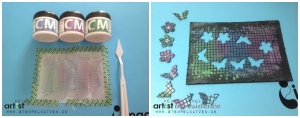
2015_hl_june_actioncard_step6L

6. Stencil another black cardstock with Creative Medium Iridescent in different colors. Let dry, punch out flowers and swallowtails and adhere Tack’n’Peel on the backside. Photos and other embellishment can be prepared in the same way.

2015_hl_june_actioncard_step7

7. Use glossy cardstock for the card base. Again the size should be ½ “ larger than the background mat. This base measures 11 ¾“ x 8 ¼”, scored at 5 ¾ “ and 6” and folded. The glossy surface has to be in the inner side of the card and provides a basis to storage letters and embellishment.


Cut another 5 ¾ “ x 8 ¼ “ black cardstock, adhere it on the card front.
Adhere the other layers.
Start to play and decorate.

by Heike Linnek

Difficulty

Intermediate

Time

45 min + dry time

Materials Needed

Imagine Crafts feat. Tsukineko: 

Others:

  • ​Spellbinders: Shapeabilities S6-009 Front One Uppercase
  • Memory Box: Stencil Style 88517
  • Stampin UP!: Chalk Lines Stamp Set; Bitty Butterfly Punch, Petite Petals Punch; Basic Rhinestones
  • Miscellaneous: Cardstock: white, black, glossy white; acrylic block; paper trimmer; glue of choice; washi tape; photo; white crayon


Sign up for our newsletter
Facebook Pinterest Twitter YouTube Vimeo