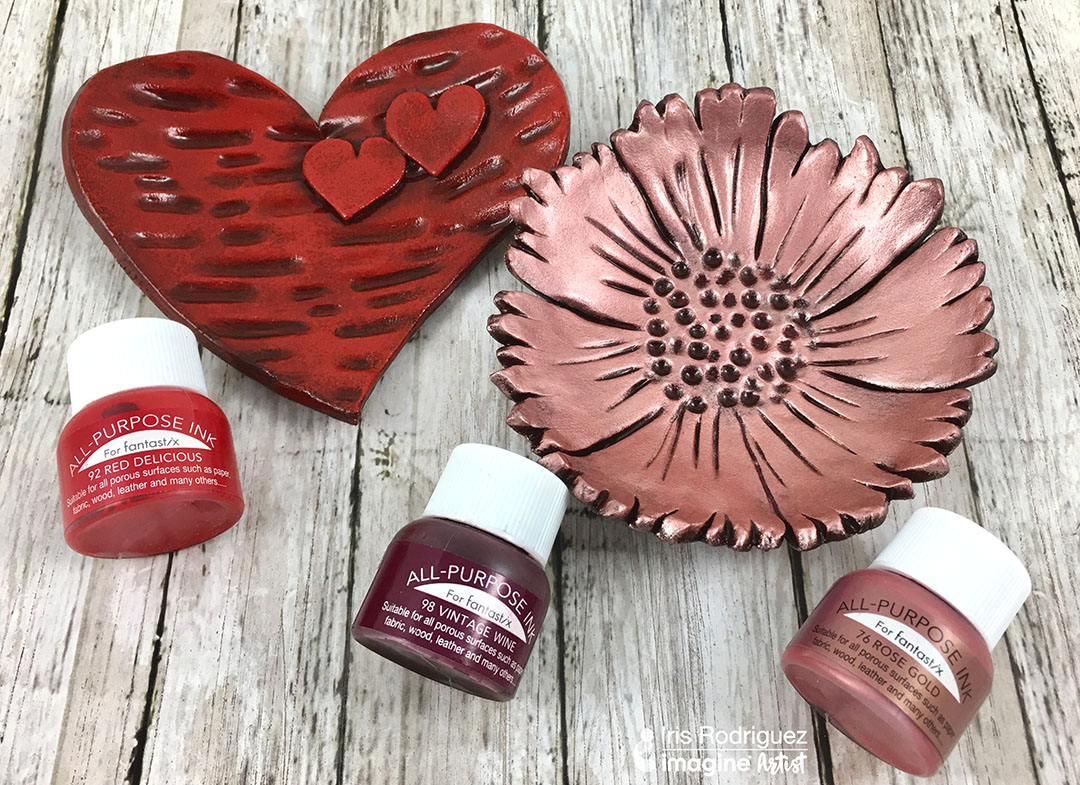
One of the smallest details that has the biggest meaning in a wedding, is the ring. In this post, I will demonstrate how to make two different DIY ring bowls using air dry clay and All-Purpose Inks. Using Imagine’s newest stunning Rose Gold All-Purpose ink, I demonstrate how to make a Rose Gold flower ring bowl. I will also show you how to add shading and depth by making use of the All-Purpose ink Vintage Wine, a dark burgundy color.
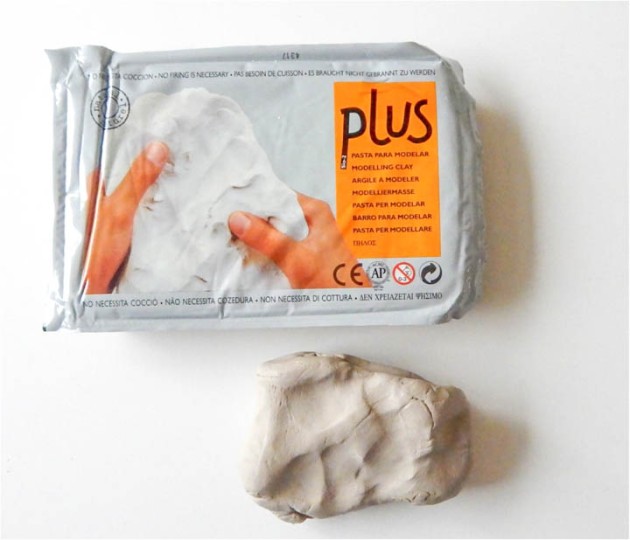
For this project, I used Activa Plus clay. This clay is fine, moist, malleable, firm, but not hard. It is an air dry clay. Keep the clay moist by spraying a little water. Adding water also makes it softer. When the clay is wet, it is beige like color, and when dry it turns off white color. The rate that it dries will depend on the thickness of the project and room temperature. The drier the room, the faster it dries.
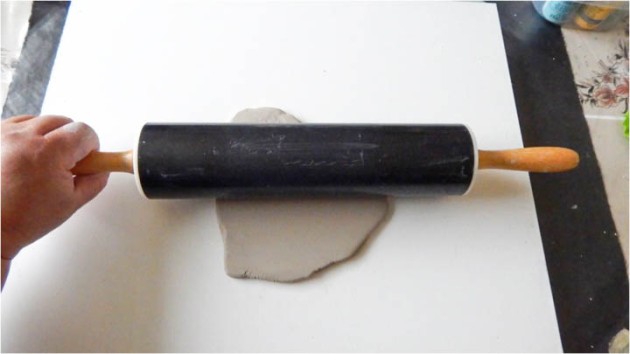
Roll out a sheet of clay. You can use a roller normally used roll out dough or use a clay roller.
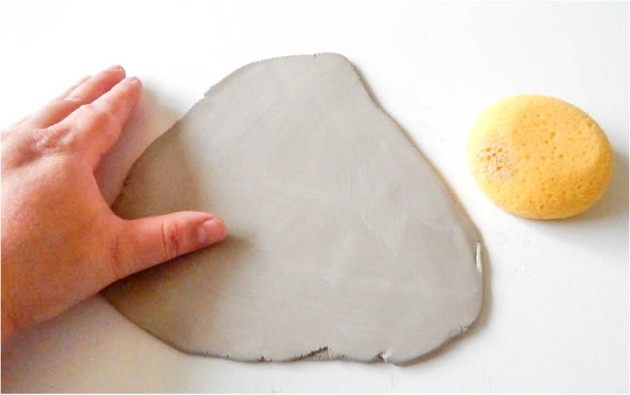
The clay is usually very smooth when it’s rolled out. If it is not, then smooth out the clay with your fingers, rib tool or wet sponge.
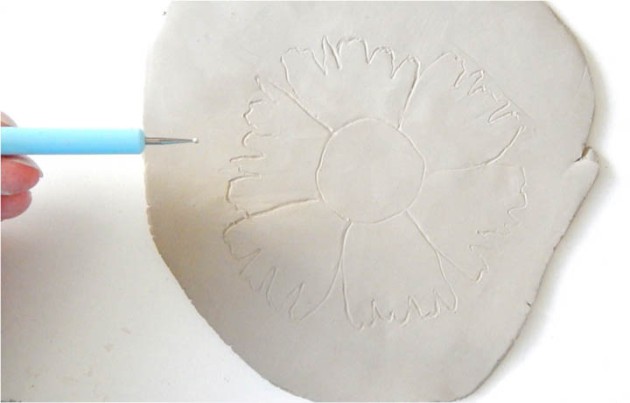
Using a stylus, draw out the desired shape. Use can also a template or other items you can place over the clay and trace. If you change your mind, remove the line by smoothing out the clay.

Using a clay needle tool or knife, cut out the shape.
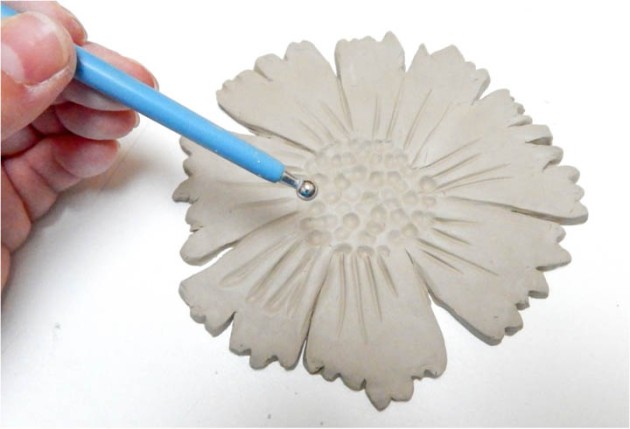
Smooth out the edges with your fingers or tools. Draw the petal’s ridges with a hard-edged tool. Sculpt the stamen by using a stylus or the pointy end of a paintbrush.
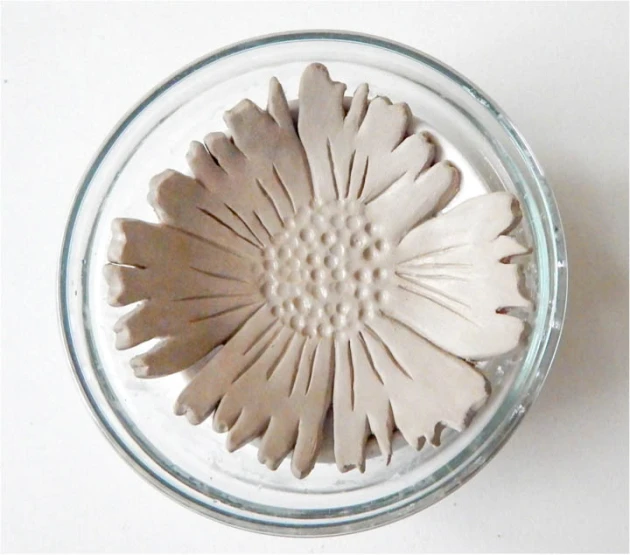
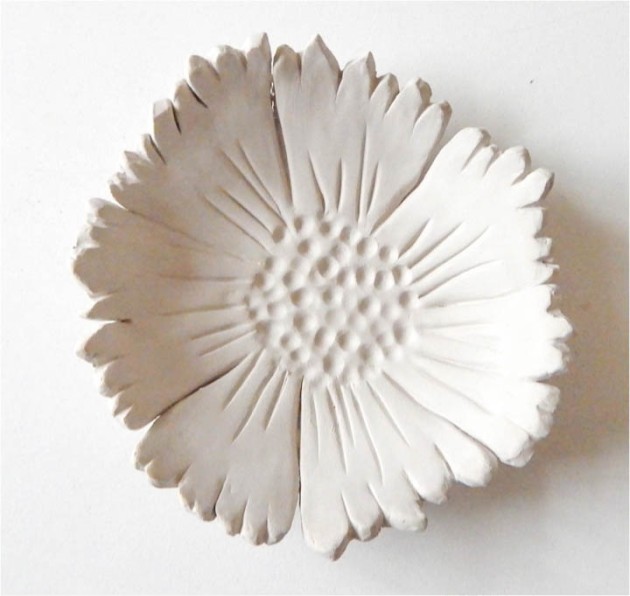
Place the clay bowl into a real bowl or other object and allow it dry for one to two days. It will take on the shape of the object. To determine if it’s dry, take a look at the natural clay color; it will turn an off-white when dry. Also, if the clay feels cold then it’s still wet.
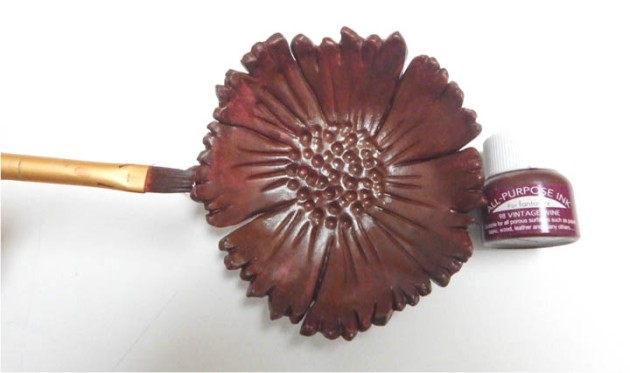
Paint the clay with the Vintage Wine All-Purpose ink with a paint brush. Heat set the ink with a heating tool or allow the ink to air dry more than half hour. Allow the ink to dry completely before proceeding.
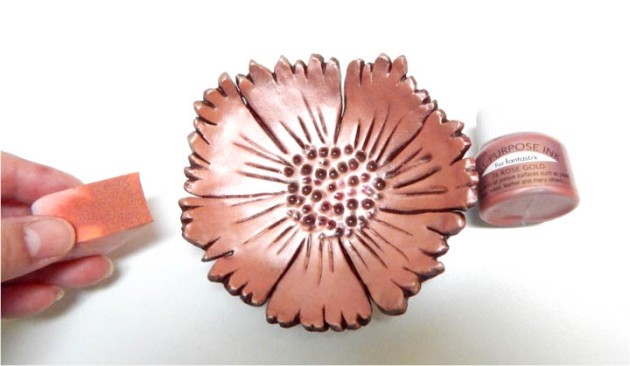
Using the Inkblusher, sponge on the Rose Gold All-Purpose ink. Tap gently in an up and down motion, ensuring that it does not get into recessed areas. Heat set the ink with a heating tool or allow the ink to dry for about 10 minutes. Because it is sponged on, the ink dries fairly quickly. The color intensity will be determined by the number of layers used. I used four thin layers for my bowls. Allow each layer to dry before proceeding.
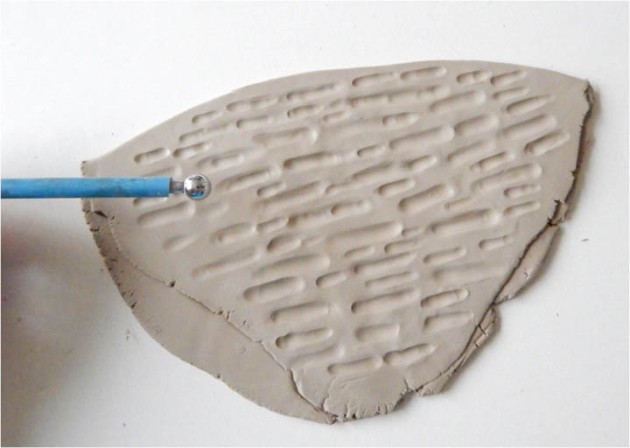
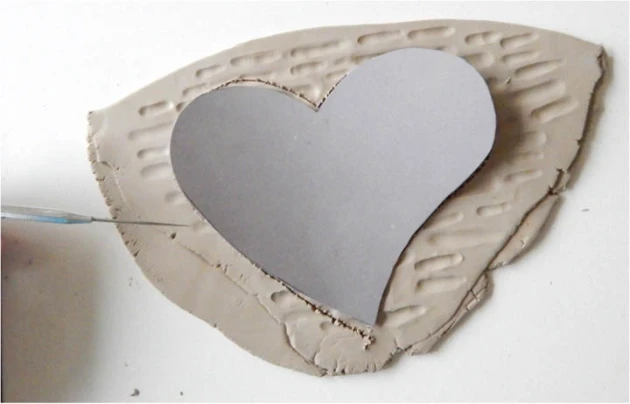
Following steps 2-6 to make the heart shaped bowl. For this bowl, I made heart templates out of cardstock paper and added the texture by making indentations with a clay stylus tool or you can use the pointy end of a paintbrush.
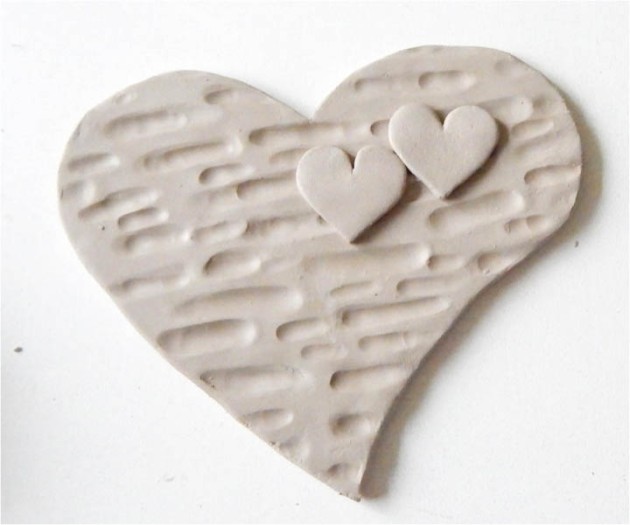
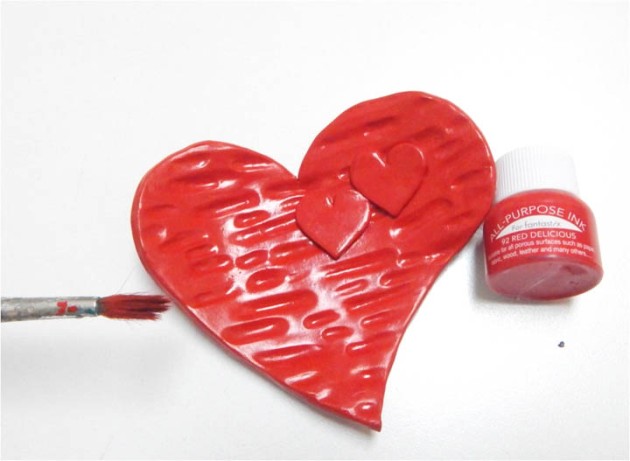
Paint the heart bowl with Red Delicious All-Purpose ink. Heat set the ink with a heating tool or allow the ink to dry for more than a half hour.
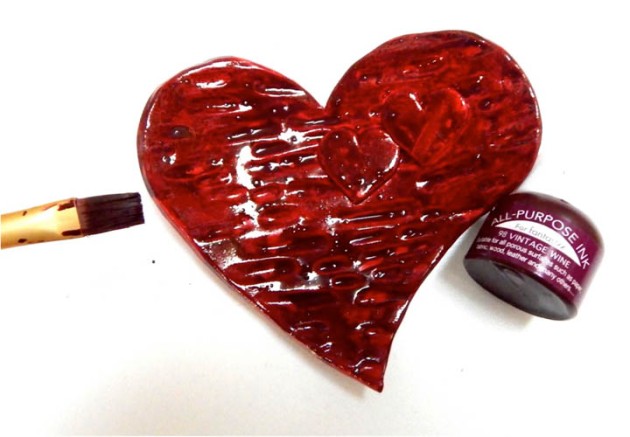
Paint one layer of the Vintage Wine All-Purpose ink.
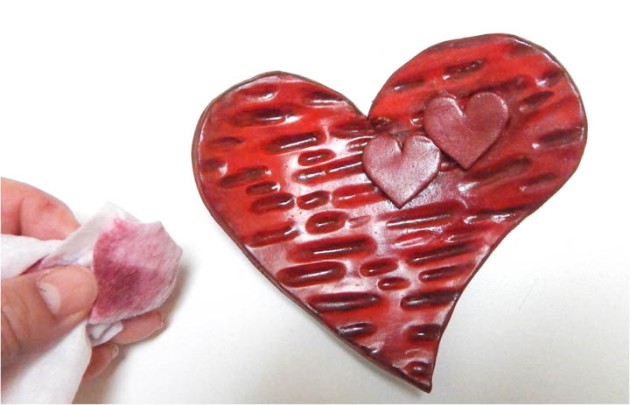
Wipe off the ink from the raised areas with a baby wipe or cotton cloth. Do not use a paper towel. It will stick to the clay and ink, as they are porous surfaces. It is very important to seal the bowls. It protects the ink and clay from liquids and dust. Best of all, it looks purposely finished. You can use a spray sealant like 3M/Krylon or brush on a water-based varnish or polyurethane.
• Craft Mat
• All-Purpose Ink - Vintage Wine, Rose Gold, Red Delicious
• Activa Plus Self Hardening Clay - White
• Modeling clay tools
• Sealer (spray, or polyurethane)